
The Bus is the most affordable public transportation that covers almost all of Oahu.
It may seem geared toward locals and a little intimidating for tourists, but once you learn the rules it’s simple!
If you use it well, not only will your range of activities expand quickly, but it will also be kind to your wallet♪
Here we thoroughly explain how to master The Bus, money-saving tips, and recommended areas.
Fares for The Bus
The first thing people want to know is, of course, The Bus fares!
There are two payment methods: paying with cash or paying with a transit IC card called the HoloCard.
Paying with cash
| Adult (age 18 and over) | $3.00 |
| Senior (age 65 and over) ※Show a senior HoloCard to receive the discount. | $1.25 |
| Child (age 6–17) ※Show a youth HoloCard to receive the discount. | $1.50 |
| Under 5 | One child rides free per fare-paying adult |
If you want a discount, be sure not to forget the appropriate HoloCard.
By the way, the fare is a flat rate per boarding regardless of how far you ride.
You pay into the fare box next to the driver when boarding, but there is no change machine and no change is given, so you need to prepare exact fare.
Paying with a HoloCard
Paying with a HoloCard costs the same as cash for a single boarding.
Just tap the card on the reader next to the driver when boarding!
Those 65 and older should tap a senior HoloCard, and ages 6–17 should tap a youth HoloCard to automatically receive discounted fares.
If your balance is insufficient, an error tone will sound and you will not be allowed to board, so it’s recommended to keep a balance on the card or enable auto-reload.
Complete guide to The Bus HoloCard
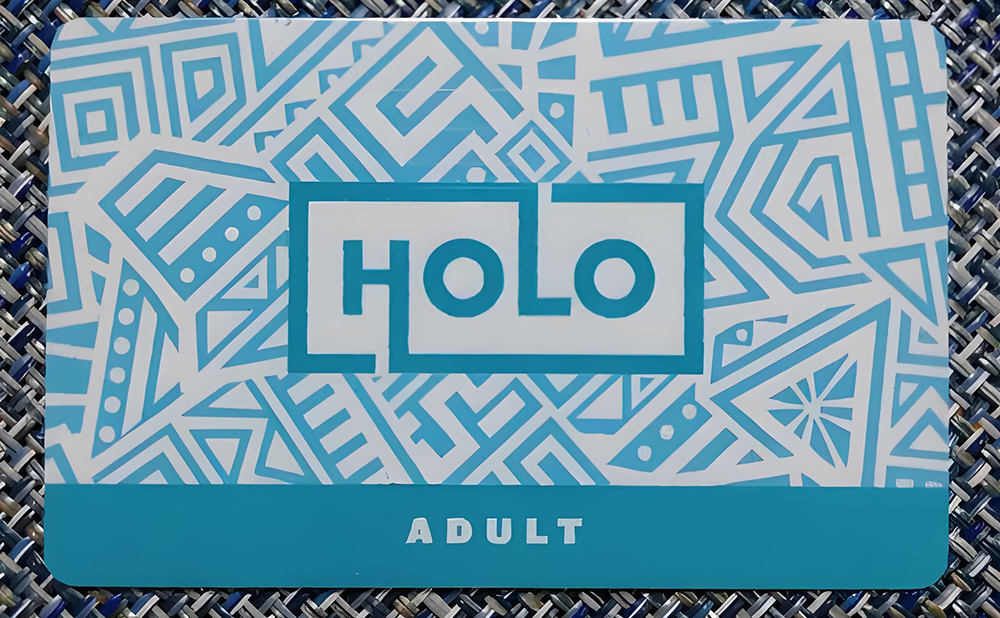
Once you make a HoloCard, you can reuse it as many times as you like by recharging it.
There are more benefits than paying with cash, so learn to use it well.
Where to get a HoloCard and how to add value
You can buy a HoloCard from vending machines at Skyline stations or from participating retail shops such as ABC Stores.
Discount-eligible cards (seniors, youth, disabled, Medicare users, etc.) require application and issuance at the dedicated Transit Pass Office.
You can also order a card online and have it mailed, but hotels are not eligible for delivery, so tourists usually buy it at an ABC Store.
By the way, the card costs $2 each.
You can add value via the official site (holocard.net) by credit card, by phone (808-768-4656), with cash at retail stores (convenience stores and supermarkets), or at Skyline station ticket machines.
It’s a bit of a hassle, so it’s recommended to buy a card at an ABC Store and load it there right away!
With a HoloCard you get 2.5 hours of unlimited rides
If you pay with a HoloCard when boarding, from that time you have 2.5 hours of unlimited rides on all The Bus routes.
You can transfer to a different route or ride the return trip on the same route without paying an additional fare.
So, for example, if you ride to a supermarket and return within 2.5 hours of your initial boarding time, you’re only charged for one one-way fare.
Used smartly, this makes outings very economical.
Daily caps when paying with a HoloCard
| Adult (age 18 and over) | Daily cap $7.50 |
| Senior (age 65 and over) | Daily cap $3.00 |
| Child (age 6–17) | Daily cap $3.75 |
With a HoloCard, even if you ride the bus multiple times in one day, there is a maximum daily charge.
Even if your travels cause two separate 2.5-hour unlimited windows to expire, the third fare will only charge the difference up to the daily cap shown above.
After that, further rides are effectively free for the rest of the day.
With cash payments you pay every time you board, so this is a big difference!
Senior HoloCard that also works as ID
The senior HoloCard includes a photo, so it can be used as an ID.
You can simply show the senior HoloCard when age verification is required at places like museums or when using senior discounts at shops.
Don Quijote and Foodland, for example, offer senior discounts on specific days, and there are many benefits like this.
Senior discounts are often especially generous in tourist areas, so it’s worth having the senior HoloCard even if you don’t use The Bus much.
How to ride The Bus
Even with buses, rules differ by country, so I’ll explain those points here.
If you master the basics introduced here, you’ll be fine on any route, so please use this as a reference.
1. Wait at the bus stop
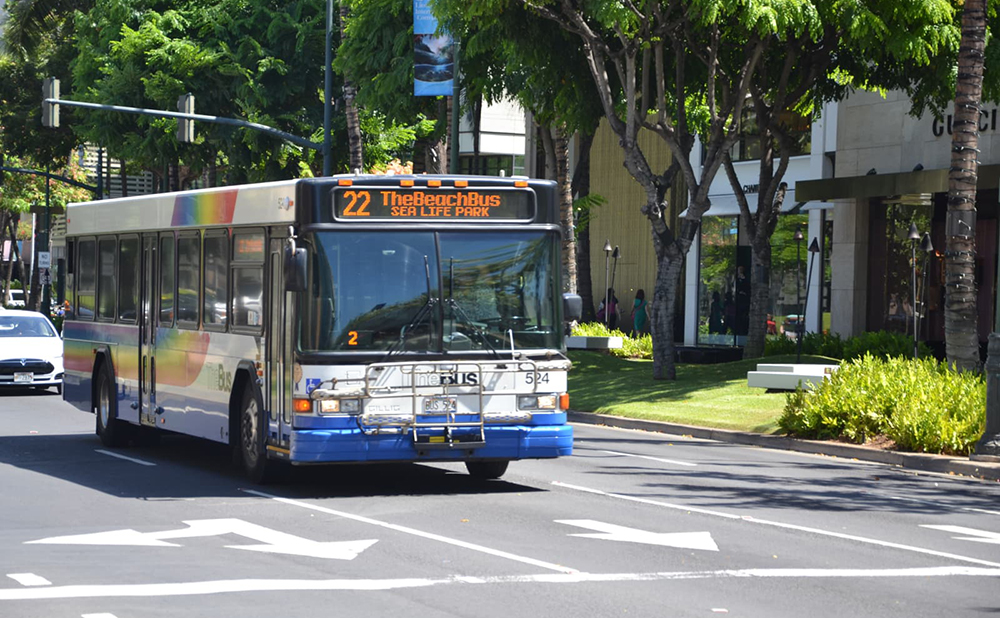
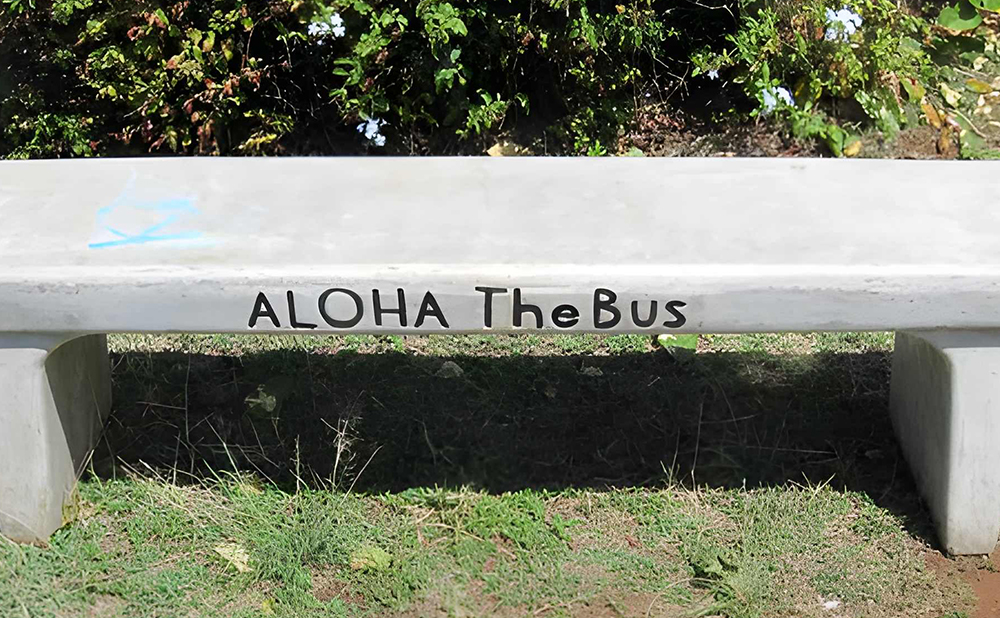
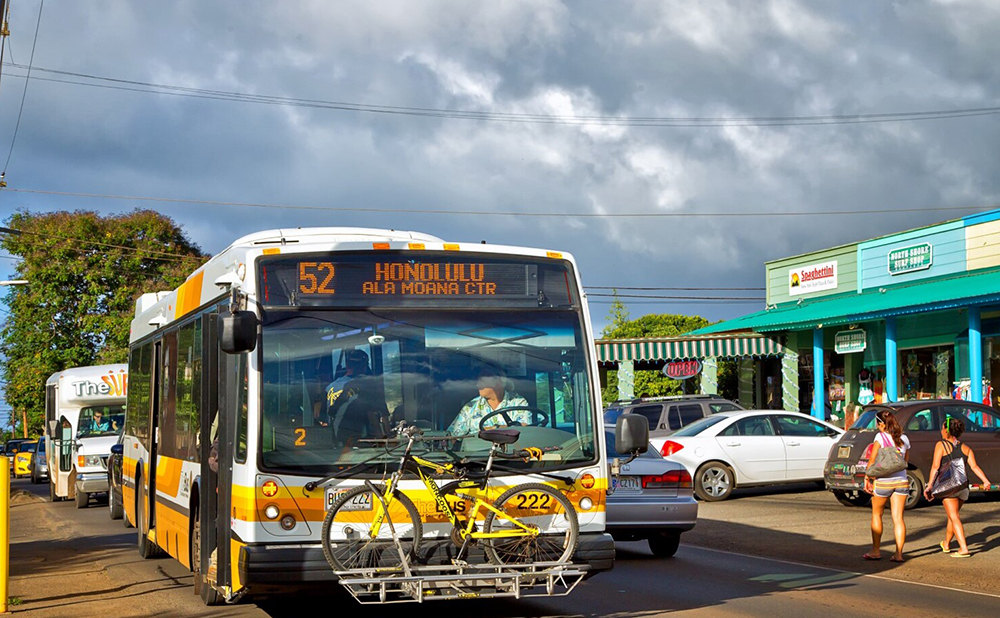
The yellow sign that says TheBus attached to poles along the road is the landmark.
There are often The Bus benches, but that varies by location, so use the sign as your guide.
The route number is written below the sign, so check that it’s the bus you want.
There are timetables for The Bus, but buses seldom arrive exactly on time. Laughs.
You can wait leisurely, but if you download the DaBus2 app you can use GPS to check the current location of the bus you want to ride.
2. Board the bus
Check the destination on the electronic display at the top front of the bus or next to the boarding door before getting on.
If you’re unsure, it’s a good idea to tell the driver your destination and confirm before boarding.
The same road often has buses going in opposite directions, so if you guess you might end up going the wrong way. Laughs.
Hawaii drivers are used to tourists, so if you tell them your destination they will kindly let you know when to get off.
3. Get off at your stop
When you want to get off, you pull the cord attached to the window rather than pressing a button.
If nobody pulls the cord the bus will pass that stop, so it’s best to check your stop in advance.
If you know your location and destination via GPS, the chance of getting off at the wrong stop is greatly reduced.
You can exit from the front or rear; if the door doesn’t open automatically, touch the door bar after the green light above the door turns on.
4. Transfer to a different route
If one ride won’t get you to your destination, you’ll need to transfer partway through.
Cash transfers no longer exist, so if you pay with cash you must pay each time you board.
With a HoloCard, tapping the reader within 2.5 hours makes the transfer free.
Because many places in Hawaii require transfers, it’s recommended to get a HoloCard!
Notes when riding The Bus

Here are some brief notes on using The Bus.
There are many basic manners to follow, but there are also some things people don’t know, so check these out.
No eating, drinking, or smoking on board
Eating, drinking, and smoking are prohibited on board.
If you have a takeout drink, finish it and dispose of trash before boarding.
Most bus stops have trash cans available.
Large luggage restrictions
Large items that cannot fit on your lap are generally not allowed on board.
Surfboards, suitcases, golf bags, etc., may be refused, so be careful.
Strollers and wheelchairs are fine!
Do not occupy priority seats
The priority seats at the front are for elderly people, those with disabilities, and pregnant people.
It’s not strictly forbidden to sit there as a regular passenger, but if someone who needs the seat boards, give it up immediately.
Tips to master The Bus
Routes for The Bus are sometimes changed slightly without notice.
Even if you research thoroughly, the route might change by the time you try to ride it.
So instead of checking each individual route, knowing how to search for routes is the key to avoiding problems.
Search from the official website
First, here is how to search routes from the official website.
- Open The Bus official website.
- Open “Plan Your Trip” on the top page.
- On the route search screen, enter your departure in “Start,” your destination in “Destination,” the date you will ride the bus in “Date,” and the departure time in “Time.”
- When input is complete, press “Get Directions.”
- The shortest route will be searched automatically and displayed on Google Maps.
The advantage of this method is that Google Maps will also show the route from your current location to the bus stop and from the bus stop to your destination.
Also, if you know the hotel name, facility name, or address you can search directly, so you don’t have to look up bus stops one by one.
Download the dedicated app DaBus2
Next is how to search routes using The Bus dedicated app “DaBus2.”
- Open the DaBus2 app (iOS version, Android version).
- From the choices at the bottom of the screen, open “Search.”
- Choose one of “Street Name,” “Stop Number,” “Route Number,” “Terminal,” or “Map,” whichever you know, and perform the search.
- Stops and routes will be displayed on the map.
The app’s route search advantage is that it shows the current location of the bus you want to ride on the map.
You won’t have to worry or get irritated waiting for a bus that doesn’t show up. Laughs.
On the other hand, you can’t search by facility name, so it takes a little practice to use well.
It may be most convenient to search the route on the official website to find the bus number and route, then use the app to track that bus number.
Recommended areas and attractions to visit using The Bus
Finally, although The Bus covers all of Oahu, here are some areas where it’s especially convenient to use.
You can actually circle the island in a day, but The Bus takes time and the interior can be quite cold, so we recommend nearby areas.
Downtown area
An area with historic buildings related to the Hawaiian monarchy, the Hawaii Izumo Taisha, and the famous King Kamehameha statue.
Downtown is a place where many excellent Chinese, Korean, and Vietnamese restaurants gather, so you can enjoy outstanding Asian cuisine.
Instead of large chain stores, you’ll also find many local boutiques where the owners’ passions shine.
Kaimuki area
This area quickly feels very local and is full of hugely popular eateries.
Find Leonard’s, Oahu’s top malasada shop; Kaila Cafe with fruit-filled pancakes; Moke’s known for its lilikoi pancakes; and many other places with long lines.
It’s an affordable, off-the-beaten-path recommended spot♪
Manoa area
A place close to Waikiki where you can still enjoy Hawaii’s great nature.
Home to Manoa Falls (a Jurassic Park filming location), the University of Hawaii, a green Starbucks, and hidden plate lunch spots and cafes.
Many shops close early, so a good plan is to hike Manoa Falls in the morning, have lunch, then return to Waikiki.
East Coast area
A coastal area with spectacular views where even just driving along feels great.
Attractions include the affluent Hawaii Kai neighborhood, popular Hanauma Bay, Halona Blowhole, and Sea Life Park—ideal for sightseeing.
It’s not too far from Waikiki, so it’s perfect for half-day plans when you just want to get out and play for a few hours♪